
-
Welcome to Smogon! Take a moment to read the Introduction to Smogon for a run-down on everything Smogon, and make sure you take some time to read the global rules.
-
Congrats to the winners of the 2023 Smog Awards!
SPOILERS! Mantine Surf Discussion and Records
- Thread starter Level 51
- Start date


I think my previous belief that how clean you press a direction determines your points on individual movements of Mantine is incorrect. Seeing way more consistant high scores doing the movement right as the little circle that appears around Mantine closes in. Kept seeing the highest point values for right / left (150), up (190), and down (250) doing this.
Uhm... the tutorial does tell you that points are higher the smaller the circle is when you do a move.I think my previous belief that how clean you press a direction determines your points on individual movements of Mantine is incorrect. Seeing way more consistant high scores doing the movement right as the little circle that appears around Mantine closes in. Kept seeing the highest point values for right / left (150), up (190), and down (250) doing this.
The bonus seems to be fairly small, though, and it could prevent you from doing a Starmie + another trick in the same jump without getting swallowed by the wave.
I know this is an old thread but is a score of 128,648 good for the Poni Beach surf spot?


I don't have the exact score results of when I got them because I didn't think I'd be sharing them, but I do have those^
I hope they're enough proof, If not I'll get a pic of my highest score on a result screen.


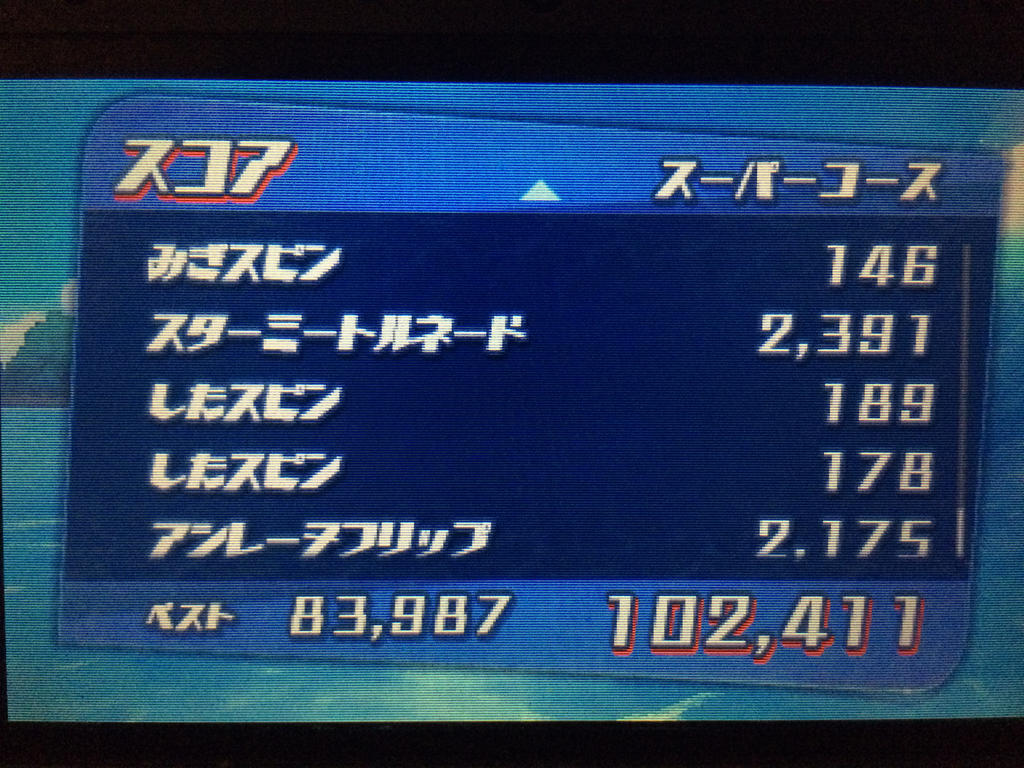
I got a new top score on the super course:

Here are my scores for every course. Twitter's iffy copying images from multi image tweets, so I'll just link the proof: https://twitter.com/TheMantyke/status/939625470215286786
Big Wave: 99,636
Heahea: 150,783
Ula'Ula: 201,394
Poni: 155,642
Big Wave: 99,636
Heahea: 150,783
Ula'Ula: 201,394
Poni: 155,642
Not quite the 155 thousand Mantyke has up there, but I can list my personal best for Poni Island at being 129,311 (Now if only I could avoid landing in the middle of these damn Sharpedos and Tentacools)
Attachments
-
 76.2 KB Views: 456


I've seen 3,000 often when attempting perfect circle Starmie 720s, so that may be the highest you can get out of one. I was able to get one along with a rushed Lanturn 360 at max speed on a tall wave, so it may be viable to trade some time for extra points. Got a 3,048 Primarina Twist near the end as well, so that's probably not capped.
At the least, the 3,060 Magikarp Splash a few posts above is enough to make me take a bit of time on it. Even if the bonus isn't too noteworthy, I'd like to have the extra points on my trump card.
At the least, the 3,060 Magikarp Splash a few posts above is enough to make me take a bit of time on it. Even if the bonus isn't too noteworthy, I'd like to have the extra points on my trump card.
Last edited:
Would you believe I thought that part was just telling me "Do the next trick after your first asap" for the longest time.Uhm... the tutorial does tell you that points are higher the smaller the circle is when you do a move.
The bonus seems to be fairly small, though, and it could prevent you from doing a Starmie + another trick in the same jump without getting swallowed by the wave.
At any rate though, how timely you execute your inputs does have a heavy influence over the tricks point value. You can get 2700ish off of a fresh Primarina or Lanturn or 3150 depending on how well timed your directions were. You can see a massive point variant in Gyaradoses thanks to this too (like +/- 4000 or something insane like that) I suppose it doesn't matter too much early on, but it can be the difference between getting 50 BP on the Akala course (which is the most BP farming effective route once you've getting ~180Kish scores on Ula'Ula because the Akala course ends sooner) Or 40ish.
The only real reason to rush and not get the full points from clean execution barring an error is if you have to do two starmies in the same orange jump. You flat out don't have the time for the two of them.
----
Since the new Global Mission is out, I wanted to share a bit of knowledge I've learned since my post on the last page:
Getting Speed:
Going straight up and down the waves and cutting into the non-wave water slightly builds speed insanely fast. It won't look like you're building speed at first because the colors around you won't change, but you should be able to feel it. I can usually get to orange speed from a stand still at that start between 3.5 and 4 trips all the way up and down the wave.
Once you land, if there aren't obsticles in your way, try and slam right back down into the non-wave water, then high tail it back up the wave. you should turn orange again as you get half way up the wave, if not sooner. This applies to both big and small waves.
Getting the Most Opportunities to Jump:
Your goal should be to launch yourself at orange speed as often as possible. Think of the course like a tube. If you gather speed mostly going straight or nearly straight most of the time, you'll get out faster and have launched yourself less. If you get speed going as perpendicular along the tube as possible, you'll get way more opportunities to launch yourself.
Most Points From a Magikarp:
The most points you can get in a Magikarp is through any combination of two Ups and Two left or right movement. You will have enough time for a Primarina or Lanturn, but not a Starmie. If for some reason you need to do a Starmie and a Magikarp in the same jump, going left and right twice each will let you
First Wave Penalty:
I forgot to mention this, but for some reason, your first two tricks have a significant point penalty for seemingly no reason. It doesn't matter what order you do these two first tricks in or if they're on different waves, you'll still lose a fair bit of points. Don't do your Gyarados or Magikarps here (you shouldn't be doing that anyway)
Stale Moves:
I've got a good guess for how much move staleness reduces the move's score. Your Stalest move (using the exact same move right after using it) reduces points to 66% of their normal strength. Your less Stale move is at 80%. This means that the pattern I described last time of going back and forth between 80% power moves is less effective than eating the stalest move immediately, and then getting a fresh move off (over four moves, you get 166% of each moves full power instead of 160%). I would still be comfortable recommending that flowchart of moves to people since it's not particularly difficult to learn and still effective, but it can be optimized slightly more:
So with that, I have a new opening I've been using to start off every round to burn through my Gyarados and Magikarp and get as many fresh moves as possible:

Getting two tricks in on the first wave is a little tricky sometimes. If you don't feel comfortable doing that, you can shorten the entirety of the first small wave to Starmie, Primarina
Once the double Starmies kick in at the end, you just keep alternating between double Primarina / Lanturn depending on the wave weight and double Starmie.
With that said:
- If you feel as if the wave is about to transition after your next trick and you're set to do double Starmie on your next jump, do Starmie, (height trick) instead. This'll get you more points than a stale starmie since you're about to switch height tricks. You then get a cool cascade of Fresh Starmie, Stale Height Trick, Fresh Other Height Trick, Fresh Starmie. From there, continue to do consecutive tricks.
- If you feel the wave is about to transition after your next trick and you're set to do double height tricks on your next jump, do the two height tricks, then on your first jump on the new wave, do Starmie, new height trick in any order you want. Those'll both be fresh, so go ahead and get your freebie before resuming the pattern.
As always, this is all by pretty crude testing. I look forward to others trying to refine my techniques.
I don't feel like spamming my twitter with Mantine Surf high scores right now for proof so I'll add that later, but here are my current records:
Big Wave: 110,484
Heahea: 156,055
Ula'Ula: 210,434
Poni: 187,379
I know it's not much, but I'd like to get to the scoreboard. At least, I'm better than Samson. I'm try to keep improving, since this is the current mission.


So I tried what Siggu said about flip timing with the shrinking circle and it's true. Well timed additions could make great differences. In third beach I managed to get 15000 (or 17000?) points from one Gyarados + Huntail trick and 7000 the most on Starmie + Primarina, and still around 5400-6000 on half stale Starmie + Primarina / Lanturn. This session, I got 126k score compared to my last 110k (I still hate those freaking torpedo) and this is with screwing up few things like forgetting Starmie moves and did reused Magikarp again in the end.
You got enough time for Starmie + height tricks anyway with one maximum speed jump, but not double Starmie.
Now I have to learn the art of quick speed gain and evasion. I could get 3 jumps at most in one wave height, but not reliably. And facing Whalord on small waves, or those obstacles waiting right on where you'll land is really cruel RNG while those 'pedo backstabbing you is just a d-move.
Last edited:
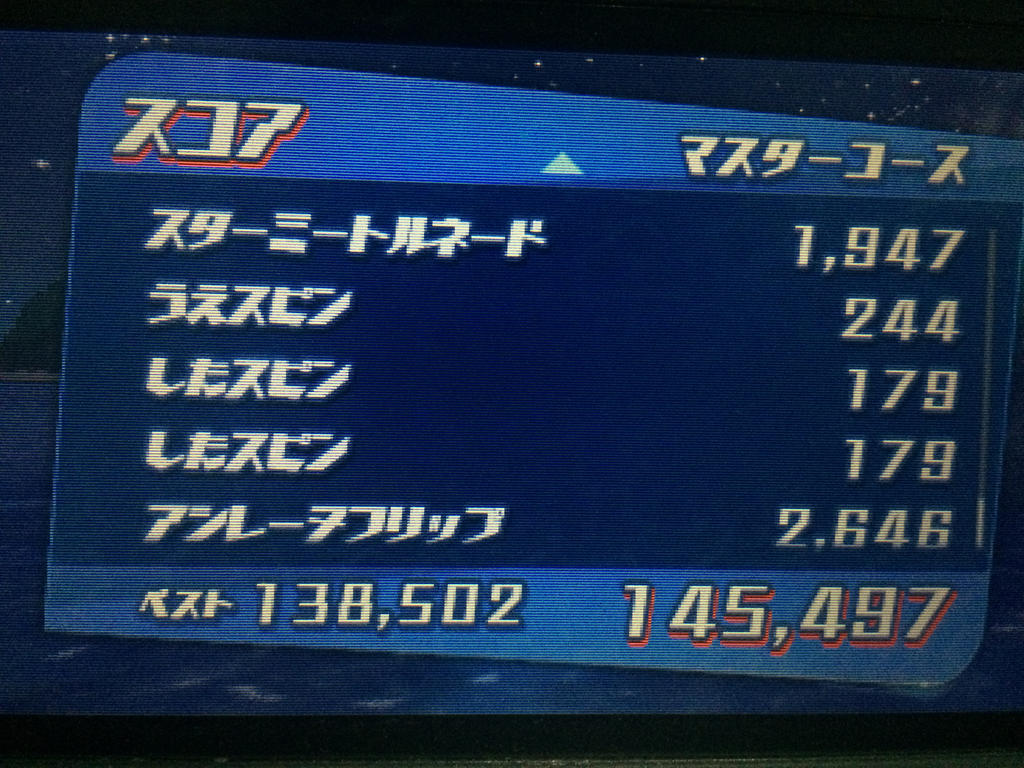
Now I'm still trying the Hyper Course. The length and density of obstacles are just annoying, but if I can get consistent 20 BP....
Another try, finally got 50 BP from Ulaula's Hyper Course with 144k points! This is definitely much more fun than climbing the Battle Tree.
EDIT2: Screw that. I can now get consistent 50 BP!

Edit3: Another try and finally get past the 50 BP limit in Poni Beach's Master Course!
Last edited:
Guys, I'm an idiot.
I just learned yesterday Over The Gyarados's seemingly weird point inconsistancy is because it's always double the previous jump's points. Forget using it to destale your moves, do it after a Magikarp and a fresh height trick for a solid 20K in a single trick after your huntail.
I just learned yesterday Over The Gyarados's seemingly weird point inconsistancy is because it's always double the previous jump's points. Forget using it to destale your moves, do it after a Magikarp and a fresh height trick for a solid 20K in a single trick after your huntail.

Here are my scores for Big Wave and Heahea Surf Spots!
I was lost on this game for so long (even after reading this thread). Over the past 2 days I sat down and really tried to figure out what I was missing, including re-reading the posts here several more times. This is where I'm at so far:
Big Wave Beach: 76,752
Heahea Beach: 101,492
Ula'Ula Beach: 126,799
Poni Beach: 126,400
I can't entirely flowchart yet, but I get the general rhythm of keeping speed and doing 2 tricks on every jump, and the combo of using a Magikarp for points and then a Gyarados to double it.
Big Wave Beach: 76,752
Heahea Beach: 101,492
Ula'Ula Beach: 126,799
Poni Beach: 126,400
I can't entirely flowchart yet, but I get the general rhythm of keeping speed and doing 2 tricks on every jump, and the combo of using a Magikarp for points and then a Gyarados to double it.
Score on Ula'Ula beach (proof here
): , 103176

RIP Miiverse, that was by far the best way to pull screenshots from compatible games. Not like USUM would have been compatible given that SM wasn't, but I find that I'm able to post my Poke Finder shots directly to my Twitter.
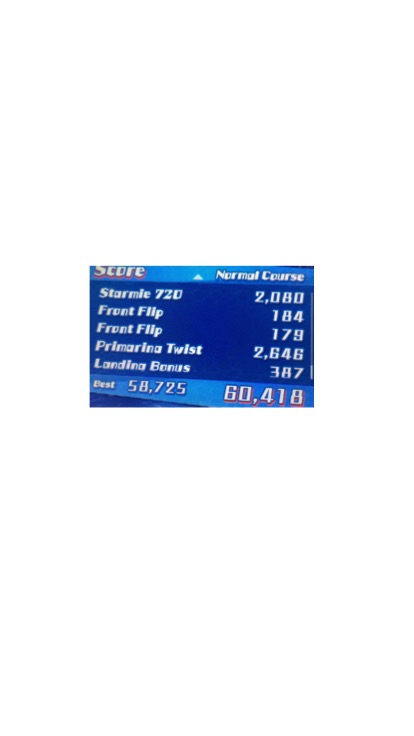
Anyway, here are my high scores. I feel like this is the one thing I've ever been legitimately good at in these freaking games. Proof coming when I get a phone that isn't a freaking artifact (it still has a slide-out qwerty keyboard and no touch screen, come ON). Anyway, looks like we're taking screenshots of just looking at the ranking board instead of the score readout at the end of a run, which is amazing.
Melemele: 105,288
Akala: 134,329
Ulaula: 163,594
Poni: 143,047
Back with some more scores. Also it's worth noting that if you go far enough into the flat water on each turn you can be at orange speed in three trips, giving you an extra opportunity to trick

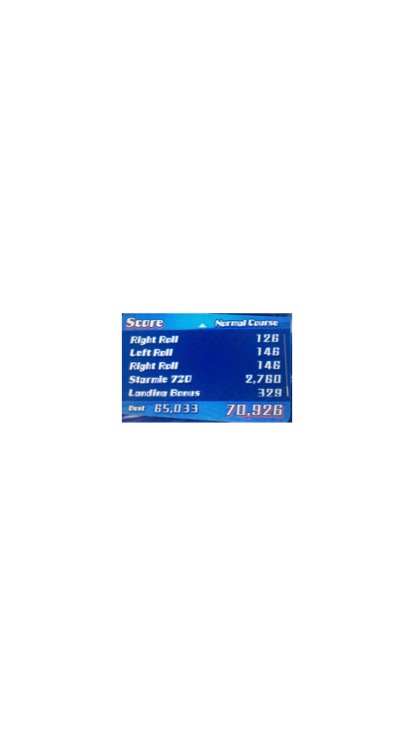
Um, I think that this counts if I am not mistaken...
Give me some time and I will beat it. I just got 70,926 at least I come in second out of roughly about 8 billion people in this world. I think that I will settle for now... Also it’s going to take a little more than just an arrow pointing up and you to say that something is unbeatable. Even if Tsunekazu Ishihara (the head of Pokémon) said it was I still wouldn’t listen. I am just that determined to beat the record of someone who shows disrespect to Mantine Surf and the game!
Last edited:
Here's the proof of these scores, btw:Big Wave: 110,484
Heahea: 156,055
Ula'Ula: 210,434
Poni: 187,379

My records from all four courses so far. (Still working on higher scores)
Attachments
-
 793.1 KB Views: 426